Scenic light covers are a simple, creative way to transform ordinary fluorescent or LED ceiling lights into eye-catching design features. Whether you want to bring the beauty of a blue sky into a windowless room or create a calming atmosphere in a professional setting, scenic light covers are easy to install—even for beginners.
This step-by-step guide will walk you through everything you need to know to install scenic light covers quickly, safely, and with confidence.
What Are Scenic Light Covers?
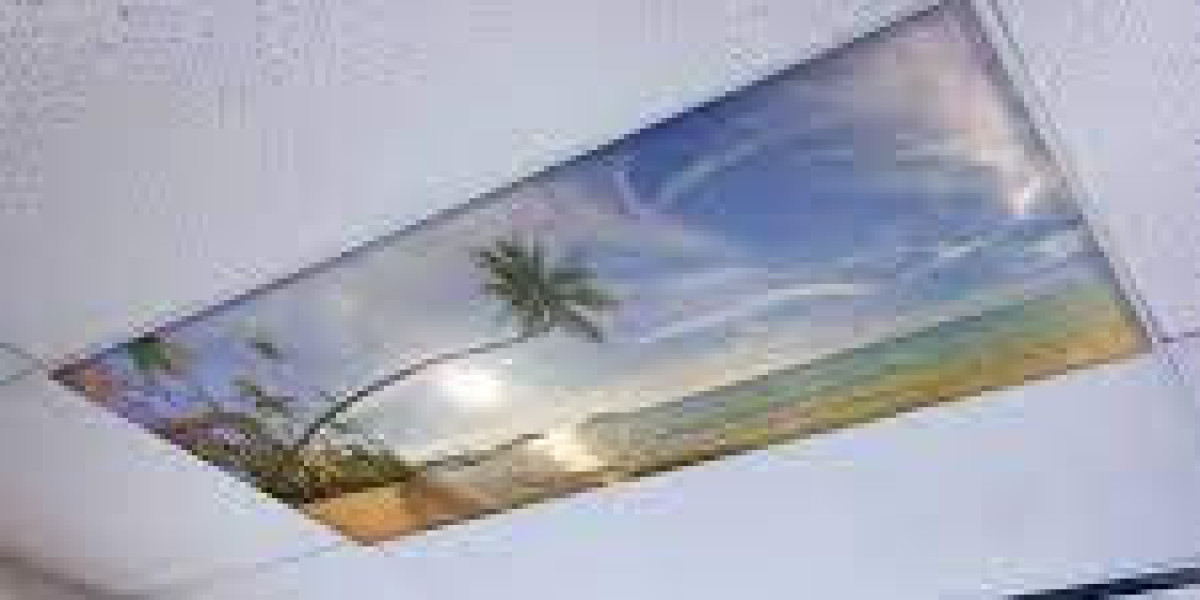
Scenic light covers are decorative panels—typically made of lightweight acrylic or flexible film—that feature printed images like:
Sky and clouds
Tree canopies
Ocean waves
Galaxies or custom designs
They’re made to fit standard ceiling grid systems or fluorescent light fixtures and work by diffusing light while displaying a scenic image overhead.
Where Can You Use Them?
Scenic light covers are ideal for:
Offices
Classrooms
Healthcare facilities
Waiting rooms
Home offices
Kids’ rooms or play areas
They’re especially helpful in rooms with harsh lighting or no windows.
Tools and Materials You'll Need
Before you begin, gather the following:
Scenic light cover panel(s)
Step ladder or sturdy stool
Measuring tape
Safety gloves
Cleaning cloth (optional)
Scissors or utility knife (if trimming is needed)
Note: Most scenic light covers are designed to simply drop into existing grid ceilings or lay over diffuser panels, making installation tool-free in many cases.
Step-by-Step Installation Guide
Step 1: Turn Off the Light
For safety and ease of installation, turn off the light switch or the circuit breaker that powers the light fixture.
Step 2: Access the Fixture
Use a ladder to reach the ceiling safely.
If you have a standard drop ceiling, gently push the existing diffuser panel up and tilt it to remove.
If you have a recessed light with a cover, remove the cover using the appropriate method (clips, hinges, etc.).
Step 3: Clean the Fixture (Optional but Recommended)
Wipe away any dust or debris from the fixture or the old panel using a dry or slightly damp cloth.
This ensures your scenic panel adheres properly and looks its best.
Step 4: Measure and Trim (If Needed)
Most scenic light covers come in standard sizes like 2'x2' or 2'x4'.
If yours is too large, carefully trim it using scissors or a utility knife to fit your panel size.
Measure twice to avoid cutting errors.
Step 5: Install the Scenic Panel
For Drop Ceiling (Grid Style):
Gently lay the scenic light cover into the ceiling grid where the old diffuser panel was removed.
If it's a flexible film, lay it on top of or underneath the existing light panel, depending on manufacturer instructions.
For Fluorescent Light Fixtures (Non-Grid):
Lay the scenic panel directly over the fluorescent tubes, or slide it into the diffuser slot if applicable.
Step 6: Turn the Power Back On
Flip the light switch or circuit breaker back on.
Step back and admire your newly transformed ceiling view!
Maintenance Tips
Clean occasionally with a soft cloth to keep the image bright and clear.
Avoid using harsh chemicals or abrasive cleaners.
Replace or rotate designs seasonally or whenever you want to refresh the room’s look.
Final Thoughts
Scenic light covers are one of the easiest DIY upgrades you can make to instantly improve the ambiance of any room. With minimal effort, you can bring in the illusion of nature, reduce harsh lighting, and add a creative touch to your home or office. Whether you choose fluffy clouds, forest canopies, or a galaxy theme, installation takes just minutes and delivers lasting visual impact.