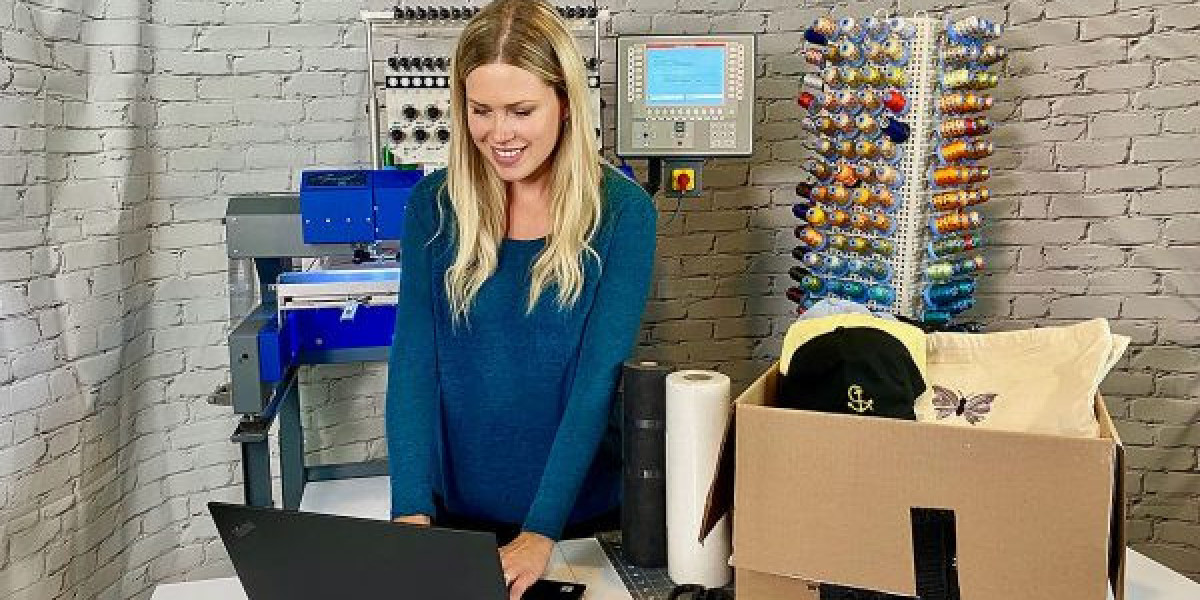
Embroidery digitizing is the secret sauce that turns ordinary designs into stunning stitched creations. Whether you're personalizing hats for your small business or creating a special gift, mastering the art of digitizing files for embroidery means the difference between amateur-looking results and professional-quality embroidery. Let's break down the essential tips that'll take your custom projects from "meh" to magnificent.
Start With the Right Design
Not all artwork translates well to thread. The best embroidery designs have:
- Clear, bold outlines – Thin, delicate lines often disappear in stitching
- Limited colors – Stick to 3-5 colors for clean results
- Simple shapes – Avoid tiny details that'll get lost
- High contrast – Subtle gradients don't stitch well
If your image is complex, simplify it first in a program like Photoshop or Canva. Remove backgrounds, boost contrast, and eliminate unnecessary details. Remember – what looks good on screen might not stitch well.
Choose Your Software Wisely
Your digitizing software determines your results. Options range from free to professional:
Free/Cheap Options (Good for Beginners)
- Ink/Stitch (free Inkscape plugin)
- SewArt (limited free trial)
- Embrilliance Essentials
Professional Tools (For Serious Crafters)
- Hatch Embroidery
- Wilcom
- Pulse
Free tools work for simple projects, but invest in better software if you're doing frequent or complex digitizing. The right program gives you control over stitch types, densities, and sequencing.
Understand Stitch Types
Different elements need different stitches:
- Satin stitches – Perfect for text and borders (shiny, tight stitches)
- Fill stitches – Best for large solid areas (like shapes or backgrounds)
- Running stitches – Ideal for fine details (delicate lines)
Mixing stitch types adds texture and dimension to your designs. A good rule? Use satin for outlines and fills for large areas.
Master Underlay Stitches
Underlay is the hidden foundation of great embroidery. It:
- Stabilizes fabric to prevent puckering
- Creates dimension (especially for 3D puff designs)
- Improves top stitch appearance
Common Underlay Types Include:
- Zigzag (great for stretchy fabrics)
- Edge run (perfect for crisp borders)
- Center run (ideal for fill areas)
Never skip underlay – it's what separates professional results from homemade-looking projects.
Perfect Your Stitch Density
Density problems cause most embroidery fails:
- Too dense = stiff fabric, thread breaks
- Too light = patchy coverage, fabric shows through
General density guidelines:
- 4-5 stitches/mm for fills
- 6-7 stitches/mm for satin stitches
Adjust based on your fabric – thicker materials can handle denser stitching than delicate silks.
Mind Your Stitch Direction
How stitches flow affects the final look:
- Uniform direction creates smooth, shiny surfaces
- Changing angles adds texture and dimension
- 45-degree angles prevent fabric distortion
For organic designs (like flowers), vary stitch directions to mimic natural shapes. For geometric designs, keep angles consistent.
Sequence Matters
The order your machine stitches elements impacts:
- Thread changes (minimize them)
- Jump stitches (reduce them)
- Design clarity (layer dark colors last)
Plan your sequence to:
- Stitch all elements of one color at once
- Work from center outward
- Layer dark colors over light
Test, Test, Test
Never stitch your final product first. Always:
- Stitch a sample on scrap fabric
- Check for tension issues
- Look for design flaws
- Make adjustments
Keep notes on what works for different fabrics and designs – this becomes your personal embroidery playbook.
Fabric-Specific Tips
Your digitizing approach should change based on material:
For Stretchy Fabrics (T-shirts, knits):
- Increase underlay
- Reduce density
- Use more fill stitches than satin
For Thick Materials (Denim, Canvas):
- Increase punch force
- Use heavier thread
- Add pull compensation
For Delicates (Silk, Thin Cotton):
- Lighten density
- Use finer thread
- Skip dense fills
Common Problems (And Fixes)
Puckering?
- Reduce density
- Add more stabilizer
- Adjust underlay
Thread breaks?
- Check for too many stitches in one area
- Slow machine speed
- Use better quality thread
Design looks distorted?
- Add pull compensation
- Check hoop tension
- Redigitize with proper underlay
When to DIY vs. Hire a Pro
Do It Yourself When:
- Designs are simple
- You're okay with some trial and error
- It's for personal projects
Hire a Digitizer When:
- Working with complex logos
- Needing production-quality files
- Using expensive materials
Pro Tips for Better Results
- Digitize in the final size – Resizing after causes quality loss
- Use vector art when possible – Cleaner edges than raster images
- Leave adequate space between elements – At least 1mm minimum
- Consider thread weight – Thicker thread needs adjusted densities
- Communicate with your digitizer – Provide fabric samples if possible
The Future of Digitizing
Exciting developments are changing the game:
- AI-assisted digitizing – Faster conversions with learning algorithms
- 3D stitch previews – See how designs will look before stitching
- Cloud collaboration – Share files instantly with clients or teams
Final Thoughts
Great digitizing is part technical skill, part artistic eye. While software keeps improving, the human touch still makes the difference in exceptional embroidery. Start simple, practice constantly, and don't be afraid to make mistakes – every flawed stitch teaches you something.
Remember: Even professional digitizers still test and tweak. The key is patience and persistence. With these tips in your toolkit, you're well on your way to creating custom embroidery that looks like it came from a high-end shop rather than your home machine.
Now grab that design you've been wanting to stitch, apply these techniques, and watch your embroidery game level up!


