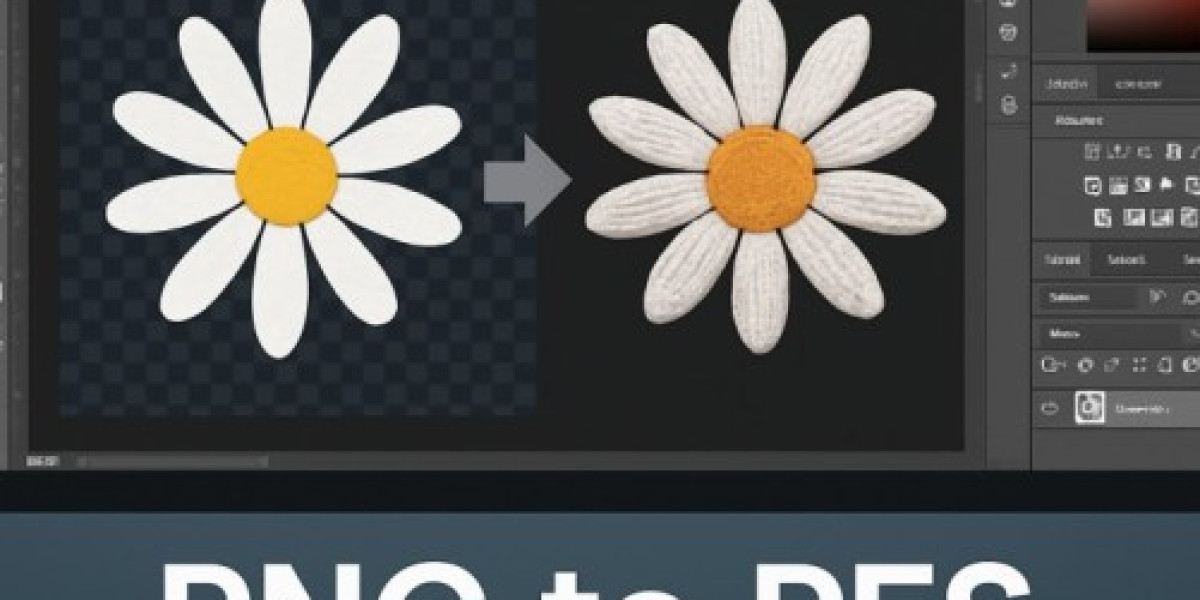
In the fast-paced world of entrepreneurship, technology unlocks new ways to stand out. For geto.space’s innovative community, converting PNG to PES transforms digital images into embroidery-ready files, enabling custom products for businesses or side hustles. True Digitizing, a U.S.-based leader with over a decade of expertise, streamlines this process for entrepreneurs. This 1000+ word guide explores PNG-to-PES conversion, its benefits for creative ventures, and practical steps to create professional embroidery designs that resonate with geto.space’s entrepreneurial audience.
What Are PNG and PES Files?
PNG: Your Creative Canvas
PNG (Portable Network Graphics) is a raster format prized for its lossless compression and transparent backgrounds. It’s ideal for digital designs like logos, icons, or artwork, offering high quality for entrepreneurial branding. However, PNGs are pixel-based and need conversion for embroidery applications.
PES: The Embroidery Blueprint
PES (Brother Embroidery Format) is a vector-based file for embroidery machines like Brother, Babylock, or Bernina. It includes stitch data—thread colors, stitch types (e.g., satin, fill), and sequences—guiding the machine to produce precise designs. Converting PNG to PES brings entrepreneurial ideas to life in thread.
Why Entrepreneurs Should Convert PNG to PES
Converting PNG to PES offers unique advantages for geto.space’s business-minded users:
- Branded Products: Create custom apparel or merchandise with precise, professional designs.
- Scalability: PES files resize without quality loss, perfect for small patches or large displays.
- Market Edge: Offer unique, tech-driven products in competitive e-commerce spaces. This process empowers entrepreneurs to leverage embroidery for branding, aligning with geto.space’s focus on promotion and networking ().
Step-by-Step Guide to PNG-to-PES Conversion
Step 1: Prepare Your PNG
Start with a high-quality PNG (300 DPI or higher) for clear stitches:
- Simplify designs (e.g., a company logo or tech icon) using Adobe Photoshop or GIMP, removing gradients or fine details unsuitable for embroidery.
- Use bold shapes and 3–5 colors for stitchable results.
- Save with a transparent background to isolate the design.
Step 2: Choose Embroidery Software
Select software that matches your needs and machine:
- Wilcom Hatch: Professional-grade for detailed entrepreneurial designs.
- SewArt: Budget-friendly and beginner-friendly for simple conversions.
- Brother PE-Design: Optimized for Brother machines, ensuring stitch accuracy. Free tools like Ink/Stitch (Inkscape extension) work for basic designs but may lack advanced features.
Step 3: Digitize the Design
Import the PNG into your software and digitize it:
- Trace the design to create stitch paths, using auto-digitizing for simple logos or manual tracing for complex patterns (e.g., a tech-inspired motif).
- Assign thread colors, referencing charts like Madeira or Isacord for vibrant hues.
- Set stitch types (e.g., satin for outlines, fill for large areas) and adjust density for your fabric.
Step 4: Save and Test
Export as a PES file, ensuring machine compatibility. Test on scrap fabric to check:
- Stitch alignment to avoid gaps or overlaps.
- Color accuracy to match the PNG for professional branding.
- Durability for washing or wear (e.g., e-commerce products). Adjust settings if needed, then transfer the PES file via USB or wireless connection.
Benefits for Entrepreneurial Ventures
Custom Branding
Converting PNG to PES enables geto.space users to create:
- Embroidered logos on uniforms, bags, or promotional items for brand visibility.
- Unique merchandise like hats or shirts for crowdfunding or events.
- Personalized gifts like tech-themed patches for client engagement.
E-Commerce Opportunities
For entrepreneurs, PNG-to-PES conversion supports:
- Branded products for geto.space’s marketplace or external platforms.
- Consistent designs across merchandise, enhancing professionalism.
- Niche offerings for tech-savvy or craft markets.
Expert Tips for Entrepreneurial Embroidery
Start with High-Resolution PNGs
Low-quality PNGs produce pixelated stitches, undermining professional designs. Use high-resolution files to preserve details like text or logos.
Simplify Complex Designs
Intricate PNGs with gradients or tiny details can overwhelm embroidery machines. Simplify in graphic editors like Inkscape or Adobe Illustrator for clean results.
Match Fabrics to Products
Test PES files on fabrics matching your project (e.g., cotton for shirts, canvas for bags). Adjust stitch density to prevent puckering, ensuring durable merchandise.
Optimize Auto-Digitizing
Auto-digitizing tools are convenient but may misinterpret complex logos. Manually adjust stitch paths to maintain quality for entrepreneurial projects.
Partner with Professionals
For polished designs, services like True Digitizing offer fast PNG to PES conversions with 2–12 hour turnarounds and JPEG previews before payment, ideal for busy entrepreneurs on geto.space.
Common Mistakes to Avoid
Using Low-Quality PNGs
Pixelated images lead to poor stitch quality, reducing product appeal. Always start with high-resolution PNGs.
Mismatching Fabrics
Stitch settings vary by fabric. Test on similar materials to avoid issues like tearing, ensuring durable products.
Overloading Designs
Complex PNGs with excessive colors reduce stitch clarity. Limit to 3–5 colors for professional embroidery.
Skipping Test Stitches
Testing PES files prevents wasted materials. Run a sample stitch to confirm alignment, density, and color accuracy.
Tools for PNG-to-PES Conversion
Free Tools
- Ink/Stitch: A free Inkscape extension for basic digitizing, great for startups.
- OnlineConvertFree: Quick conversions but limited for complex designs.
Paid Software
- Wilcom Hatch: Professional-grade for detailed branding designs.
- SewArt: Affordable with intuitive features for beginners.
- Embird: Versatile for editing multiple formats.
Professional Services
Outsourcing to True Digitizing ensures machine-ready PES files, saving time for geto.space entrepreneurs scaling their businesses.
Applications for GETO Space Entrepreneurs
Unique Business Branding
Create embroidered patches, apparel, or promotional items to enhance brand identity, perfect for sharing on geto.space’s networking features ().
E-Commerce Growth
Produce branded merchandise for geto.space’s marketplace, leveraging PES files for consistent, high-quality products.
Community Engagement
Share your PNG-to-PES projects on geto.space’s blog to inspire entrepreneurs, fostering connections through shared innovation.
Why Choose Professional Conversion?
DIY conversion is rewarding, but professional services offer:
- Speed: True Digitizing delivers most PES files in 2–6 hours, with complex designs in 12 hours.
- Precision: Expert digitizers ensure stitch-perfect designs for branding.
- Convenience: Free revisions and previews before payment, as noted in your May 9, 2025, conversation. These benefits help geto.space users focus on growing their ventures, not troubleshooting conversions.
Conclusion
Converting PNG to PES empowers geto.space’s entrepreneurs to create professional, tech-driven embroidery designs for branding and e-commerce. By following this guide’s steps and tips, you can produce high-quality PES files for merchandise or promotional items. Whether using software like SewArt or partnering with True Digitizing, this process unlocks creative and business opportunities. Start converting PNG to PES, share your success on geto.space, and inspire the community with your entrepreneurial designs.