Many projector users experience image warping and ask why is my projector blurry, projector blurry, or my projector is blurry. One common cause is placing the projector off-center from the screen. Even small deviations can introduce trapezoidal distortion, uneven sharpness, and edge softness. In this blog, we will explain why projector images warp when the projector is off-center and how to fix blurry projector issues caused by misalignment.
Step 1: Understanding Off-Center Distortion
When a projector is not aligned with the horizontal center of the screen:
The projected image becomes trapezoidal instead of rectangular
Edges may appear stretched or compressed
Focus across corners can become uneven, making my projector blurry
This occurs because the projector lens is designed to project straight onto a perpendicular surface, and off-center placement changes the angle of projection.
Step 2: Minimal Keystone Correction
Most projectors have digital keystone correction to compensate for off-center placement:
Vertical keystone adjusts top-to-bottom distortion
Horizontal keystone adjusts side-to-side distortion
However, heavy digital correction can soften the image and make projector blurry. It is better to physically align the projector whenever possible.
Step 3: Use Lens Shift Instead of Digital Correction
Many modern projectors include lens shift:
Moves the image horizontally or vertically without tilting the projector
Maintains native focus and sharpness
Prevents my projector blurry caused by digital manipulation
Lens shift is preferable to off-center placement with heavy keystone adjustments.
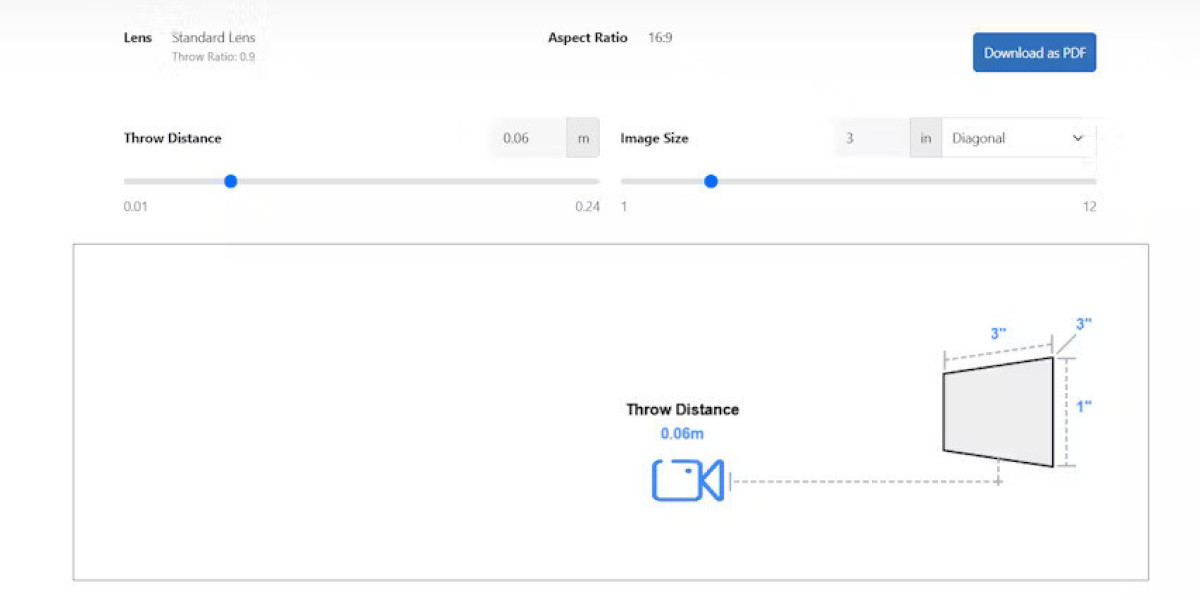
Step 4: Check Throw Distance and Angle
Off-center placement can also affect distance:
One side of the screen may appear closer to the projector than the other
Uneven throw distance can reduce sharpness on one edge
Adjust the projector backward or forward to maintain uniform throw distance
Correct throw distance helps fix blurry projector issues caused by uneven alignment.
Step 5: Physical Alignment Tips
Always position the projector perpendicular to the screen
Center it horizontally as much as possible
Use mounts with adjustable tilt and horizontal alignment
Avoid temporary setups that place the projector at an angle
Proper physical alignment reduces warping and ensures uniform sharpness.
Step 6: Test and Fine-Tune
Project a high-contrast grid to check for warping
Adjust lens shift, zoom, and focus as needed
Ensure all corners and edges are sharp
Testing ensures the image is crisp and eliminates projector blurry caused by off-center placement.
Conclusion
Placing a projector off-center can easily cause warped images and blurry edges. Many users ask why is my projector blurry, projector blurry, how to fix blurry projector, or my projector is blurry, and off-center alignment is often the culprit. By physically centering the projector, using lens shift, minimizing digital keystone correction, and adjusting throw distance and focus, you can prevent image warping and maintain a sharp, professional-quality projection. Correct alignment is essential for home theaters, classrooms, and office presentations.
Read more: https://whatson.plus/blogs/83846/How-Far-Back-Should-I-Place-My-Projector-for-the