Are you not clear about the first step in connect Canon printer to laptop? The right instructions can turn the process into a breeze no matter if it is the old printer that is being reconnected or a brand new one that is directly taken out of the box. Canon wireless printer setup will be done in minutes if you follow this guide.
1. Power and Unpack On
First and foremost, get your Canon printer to be unpacked and turned on. After plugging it into the power outlet, press the power button. Make sure the cartridges are full and the tray is fitted with paper.
2. Wi-Fi Connection
To set up the Canon wireless printer you need to connect it to your Wi-Fi network. Go to the printer's control panel, look for the wireless settings and choose your Wi-Fi network. Enter the password when prompted. On the other hand, if your printer supports WPS (Wi-Fi Protected Setup), you can make automatic connection by pressing the WPS buttons on both the router and the printer.
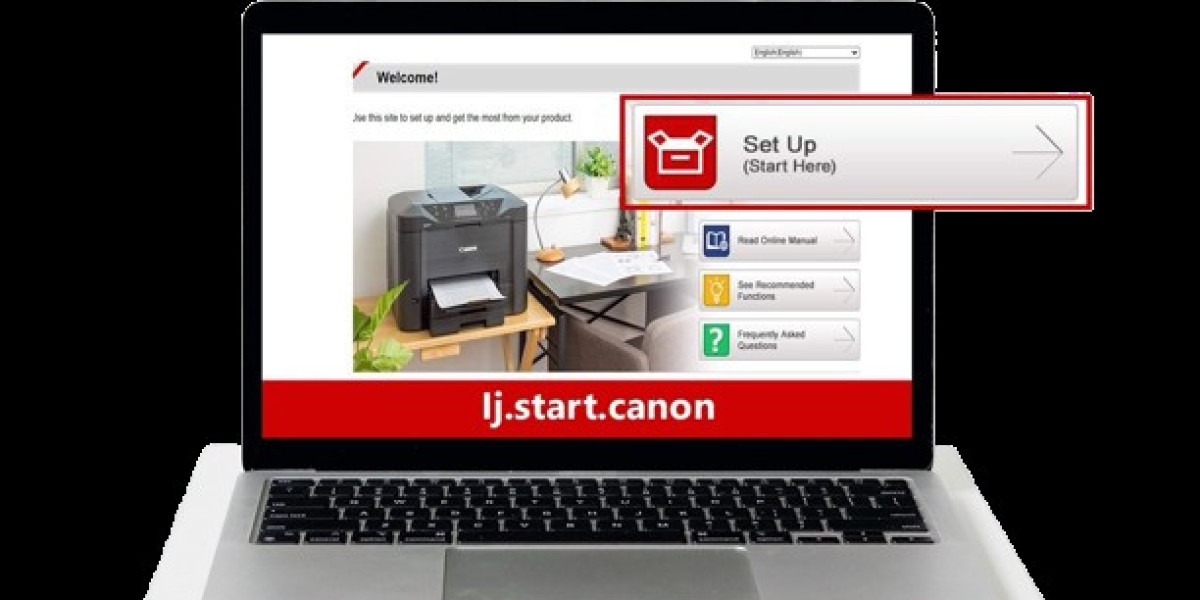
3. Goto ij.start.cannon
The next step is to go to ij.start.cannon on your laptop. This is the official Canon setup page. From here, download the driver and installation software for the suggested printer model.
4. Program Setup
Make the installer run after it is downloaded and follow the instructions that appear on the screen. When asked, choose the wireless connection option. The program locates and connects your Canon printer to the same Wi-Fi network.
5. Page Printing Test
Try printing a test page when the setup is completed to check if everything is working properly. Implied is that you have wireless printing capability from your laptop at any time!
Connecting your Canon printer to your laptop is now easier than ever, thanks to ij.start.cannon and smooth installation instructions.