
Unlock the Secrets of Stunning Studio Lighting That Will Transform Your Photography!
Studio lighting is an essential element in photography that can dramatically enhance the quality of your images. Whether you're a budding photographer or a seasoned pro, understanding how to manage lighting can make or break your photographs. Photographers often face challenges when it comes to lighting—be it harsh shadows, unflattering highlights, or simply not enough light to capture the subject effectively. These challenges highlight the need for a good studio lighting kit, which provides the tools necessary to control light and create stunning visuals. In this article, we'll delve into the different types of studio lighting options available and how to use them effectively, setting the stage for your photography success.
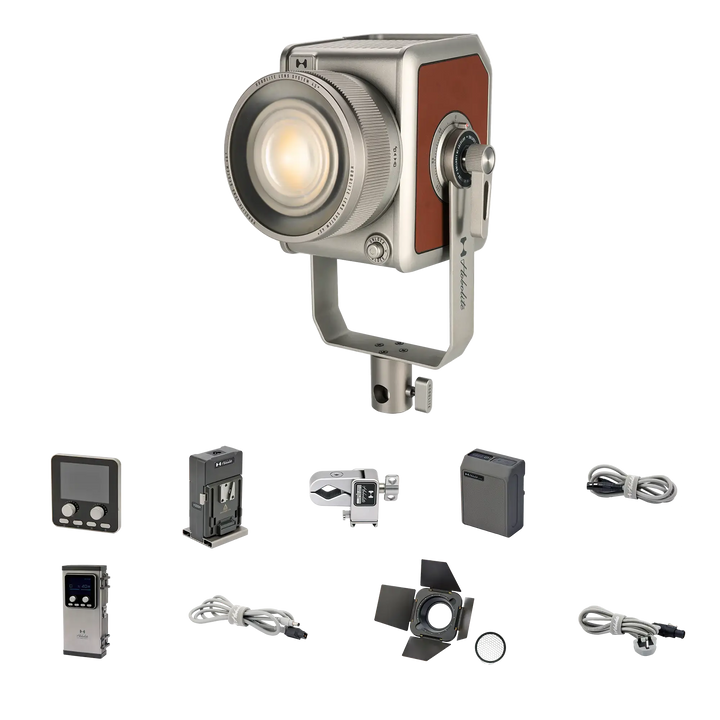
Understanding Studio Lighting Kits
A studio lighting kit is a collection of equipment designed to help you create the perfect lighting for your shoots. Typically, these kits include various components such as lights, modifiers, and stands. The lights can vary in type and power, but they generally include continuous lights, strobes, or LED fixtures. Modifiers, like softboxes and umbrellas, help diffuse or shape the light, allowing for more control over the lighting environment. Stands are essential for positioning these lights at the right angles and heights to achieve the desired effect. Understanding what each component does and how they work together is crucial for creating professional-looking images.
Types of Studio Lighting Options
There are several studio lighting options to choose from, each with its own unique benefits and drawbacks. Continuous lighting provides a constant source of light, making it easy to see how shadows and highlights will fall on your subject. Strobe lighting, on the other hand, emits brief bursts of light that can freeze motion and create dramatic effects. LED lighting is becoming increasingly popular due to its energy efficiency and versatility. Each type of lighting has its own set of advantages and is suited to different shooting scenarios. Understanding these options will enable you to select the best lighting setup for your specific needs.
Continuous Lighting
Continuous lighting consists of lights that remain on continuously, allowing photographers to see the effects of their lighting in real time. This type of lighting is particularly useful for beginners who are still learning about the nuances of light and shadow. It’s also ideal for video production, where consistent lighting is crucial. However, continuous lights can generate heat and may not be as powerful as strobes, making them less effective for high-speed photography.
Strobe Lighting
Strobe lighting is characterized by its ability to emit powerful bursts of light. This type of lighting is favored by many professional photographers because it can create sharp images with beautiful details. Strobes are particularly advantageous for action shots or when photographing subjects in motion, as they can freeze the moment effectively. However, they require more setup time and understanding of sync speeds, which can be a learning curve for some.
LED Lighting
LED lights have surged in popularity for studio photography due to their energy efficiency and long lifespan. They produce less heat than continuous lights and are available in various color temperatures, allowing for greater flexibility in lighting setups. Additionally, many LED lights can be adjusted for brightness and color, making them incredibly versatile for different shooting environments. Their compact size also makes them suitable for smaller studio spaces.
How to Use Studio Lighting Kits Effectively
To get the most out of your studio lighting kit, consider a few essential tips and techniques for setting it up. Start by positioning your lights at the right angles to create the desired effects—this can significantly impact how shadows and highlights appear in your images. Experimenting with modifiers is also crucial; they can soften or direct light, helping you achieve a more polished look. Many photographers, including friends of mine who are passionate about their craft, have learned the hard way about common mistakes in lighting setups, such as placing lights too close or too far from their subjects. Learning from these experiences can save you time and frustration.
Lighting Placement
Lighting placement plays a key role in how your images turn out. The way you position your lights can establish the mood and tone of your photograph. For instance, placing a light directly in front of your subject can create flat lighting, while positioning it at an angle can add depth and dimension. Pay attention to how shadows are cast and where highlights land, as these elements can add drama and interest to your work.
Using Modifiers
Modifiers like softboxes, umbrellas, and reflectors can greatly enhance your lighting quality. Softboxes diffuse the light, creating a softer look that is flattering to subjects. Umbrellas can reflect or diffuse light, providing versatile options for various shooting scenarios. Reflectors are excellent for bouncing light back onto your subject, filling in shadows and brightening the overall scene. Learning how to use these tools effectively can elevate your photography to new heights.
Mastering Studio Lighting for Your Photography
In summary, mastering studio lighting is a transformative skill that can significantly enhance your photography. By understanding the various types of lighting options available and how to use your studio lighting kit effectively, you can elevate the quality of your images to a professional level. Don’t be afraid to experiment with different setups and techniques; the more you practice, the more you’ll discover what works best for you. So grab your kit, start playing with light, and watch your photography skills flourish!